How to Layer Iron on Vinyl With Easy Press
This post may contain Amazon Associate and other partner affiliate links. As an Amazon affiliate, I earn a small commission from these links at no additional cost to you.
Let's dig in today and answer common questions about layering HTV as well as walkthrough How to Layer Heat Transfer Vinyl Correctly so that it lasts on your applications. I will share all my tips and tricks and answer your application questions!
This post may contain Amazon Associate and other affiliate links.
As an Amazon affiliate, I earn a small commission from these links at no additional cost to you.
This tutorial will walk through how to correctly layer HEAT TRANSFER VINYL (Iron-on). Check out How to Layer Vinyl the Easy Way if you are looking for adhesive vinyl application!
Table of contents
- What is HTV? (Heat Transfer Vinyl/Iron-on)
- Can I layer HTV on top of HTV?
- How to Layer HTV
- How to Layer Everyday Iron-on
- How to Layer Everyday Iron + Specialty Iron On
- How to Layer Specialty Iron On
- What is the Protective Sheet For?
- Tips for Using Different Types of Heat Transfer in One Project
- Can You layer SportFlex?
- Can You layer Iron On Designs?
What is HTV? (Heat Transfer Vinyl/Iron-on)
This blog post will dig into the correct way to layer htv. If you are new to Iron-on (IO) or also called Heat Transfer Vinyl (HTV) you are welcome to learn about the material here in my Iron-On Basics post.
If you are just using a single layer/type of Iron-on, I have detailed instructions on how to prepare your blank, application, and aftercare in my How to correctly Apply Heat Transfer post.
I use the EasyPress 2 to adhere all of my iron-on vinyl to my selected surfaces. You can find out everything you need to know about the EasyPress 2 and why it is so awesome here.
Now, what if you want to use more than one color? What if you want to use Everyday Iron-on and then add some glitter? What if you want to use SportFlex? Let's get into the details of using multiple Colors/types of iron-on, how to press these with the EasyPress 2, and some tips and tricks
What Are the Different Types of Iron-On?
Regular heat transfer material is referred to as the solid color matte iron on.
Specialty Heat Transfer Materials are basically the rest (Glitter, Sparkle, Holographic, Foil, Patterned, Fluorescent, SportFlex/Stretch, Heat Transfer Vinyl Designs, etc.)
Supplies & Tools to Layer HTV Correctly
I have a whole collection of places to purchase Iron-on on my Iron-on page however I personally love the selection and pricing at Expressions Vinyl!
You can use any Cricut or Silhouette machine for this. Cricut Explore Air, Air 2, or Air 3. Cricut Maker or Maker 3. Silhouette Cameo, original through Cameo 4, and a Silhouette Portrait.
We will also utilize Cricut Design Space or Silhouette Studio respectively.
- Cutting Machine – Cricut or Silhouette
- Heat Transfer Vinyl in your choice of different colors or patterns
- Weeding Tool
- Cricut EasyPress or Heat Press
- Cricut EasyPress Mat or Towel
- Blank – Onesie, Pouch, Tote, T-shirts, etc.
- Layered SVG Files of your choice – Find my Free svg Files here and also check out my svg shop.

You can find a huge selection of heat transfer blanks as well as tools and supplies in my Heat Transfer/Iron-on Section of my Amazon Shop
Can I layer HTV on top of HTV?
Yes, you can. There are some rules to follow:
- Regular heat transfer vinyl CAN be layered up to four solid layers.
- Specialty Iron On shouldNOT be layered directly on top of one another. This includes like for like types. Example: glitter cannot be layered on holographic nor can glitter be layered on top of glitter (like for like).*
- Specialty Iron On should NOT be used as a base for Everyday Iron on.
- Everyday Iron on CAN be used as the base for layering specialty iron on. However, because of rules 2 and 3, layers must be kept at 2. (Everyday + Specialty)
- SportFlex/Stretch can ONLY be layered with SportFlex and it is recommended to limit to 3 layers. Sportflex is that kid in the playground that is AMAZING at the monkey bars but doesn't play nice with others!
*read below on how to layer specialty iron-on.
Keep these rules in mind when you are choosing Iron on for your designs. You will want to choose iron on with the HOTTEST temperature settings to be towards the base of your project and the types with the coolest temperature settings to be at the front of your design
How to Layer HTV
How to Layer Everyday Iron-on
You can grab these files I used here in the Cricut Community!
This is easy. You cut your designs on your Cricut Machine with the HTV applied to the mat shiny side down (Mirrored of course because we are using iron-on) and then weed the excess vinyl leaving only your design.
Next, I stack my iron on layers as they should be assembled and place the stack where I want to apply on my blank. This is helpful if you have designs that are dependent on precise spacing and to make sure you have the entire design centered correctly!

Remove the top layers (together) leaving only the bottom layer of vinyl.

Press the bottom layer only, using the temperature from the recommended heat settings for the EasyPress 2. I do short presses for the bottom layer for about 10 seconds on this base layer. It will not be completely set, but it will undergo the pressing from the rest of the colors so it does not need the full time right away. Peel off the carrier sheet as recommended also (cool or warm peel).

For the next press, replace your colors 2,3,4, and 5 and line up with layer 1. Remove layers 3, 4 & 5 and press layer 2. Again only for 10 seconds. Same instructions as above. Repeat for all colors.
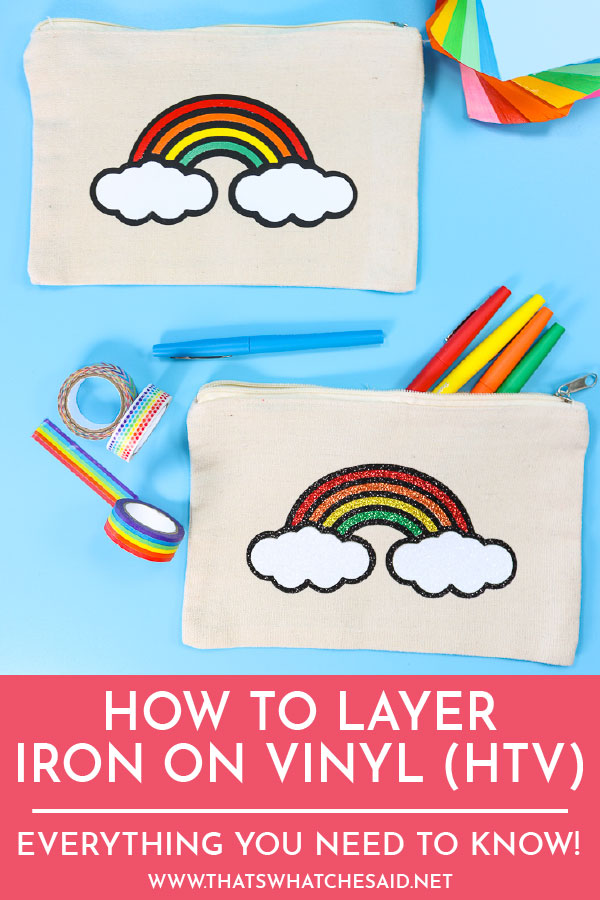
Even though we have a 6 color design, we only actually have 2 layers!
TIP: If you can, make the carrier sheet (liner) the same size for all your designs. This prevents the liner on upper layers from leaving an imprint on the lower layers when being pressed.
Done! I told you that was easy!

You know you got a good press when you can see the design of the fabric in your iron on.
")

How to Layer Everyday Iron + Specialty Iron On
Make sure your first layer of HTV is cut from Everyday Iron-on. Your top layer can be any specialty type.
Apply your Everyday Iron-on first using the Interactive Settings Guide. Use the full press time recommended to press.
Next, apply your specialty iron on according to the recommended settings.
NOTE: If using more than one specialty iron-on (not layered) press the material with the hottest temperature setting first.
How to Layer Specialty Iron On
Can I layer glitter heat transfer vinyl? Probably the most common question I get asked. The technical answer is no, but my answer to you is YES!
I know what you are thinking. You are thinking "Cheryl, you JUST said above that specialty iron-on CANNOT be layered upon" (see rule 2) and you are correct but we aren't going to layer solid layers! We are going to use the SLICE Method to layer Specialty Vinyl.
I mean sometimes you just need all the glitter vinyl, am I right? This method works for all specialty heat transfer vinyl, not just glitter iron-on.
I use this method all the time and love it. It also makes lining up your layers so much easier!
Note: Iron on will adhere best to fabric versus itself. So the Slice Method is great for getting that layered look but not actually layering and will yeild long lasting durability!
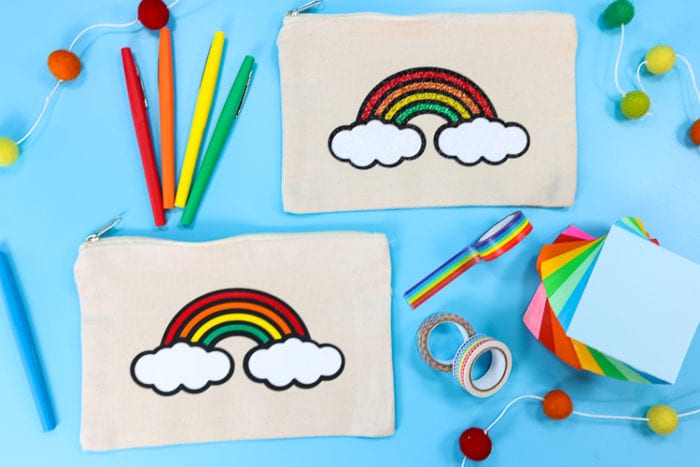
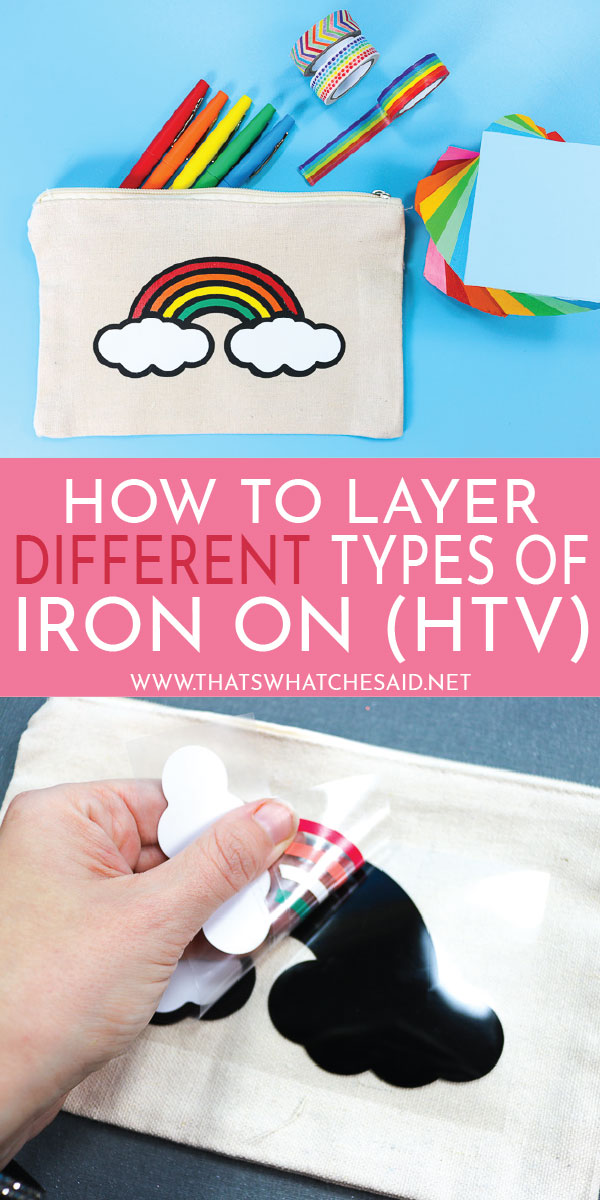
Here are my "layers" all cut from glitter iron-on! As you see, all the layers will make contact with the canvas pouch!

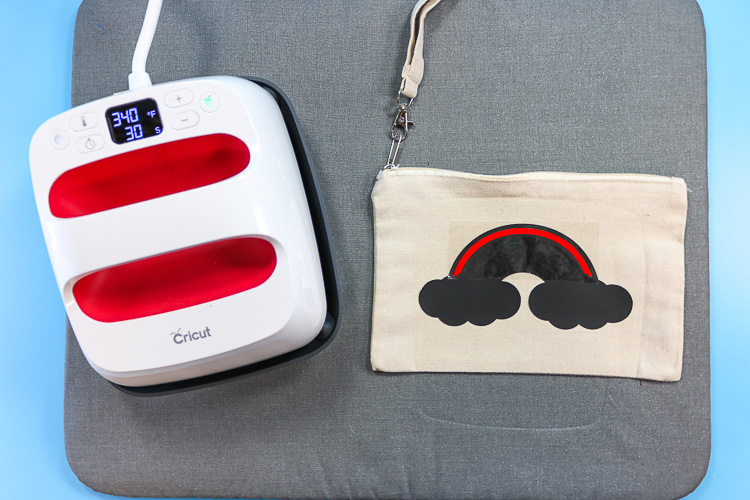
I applied my black layer outline first.

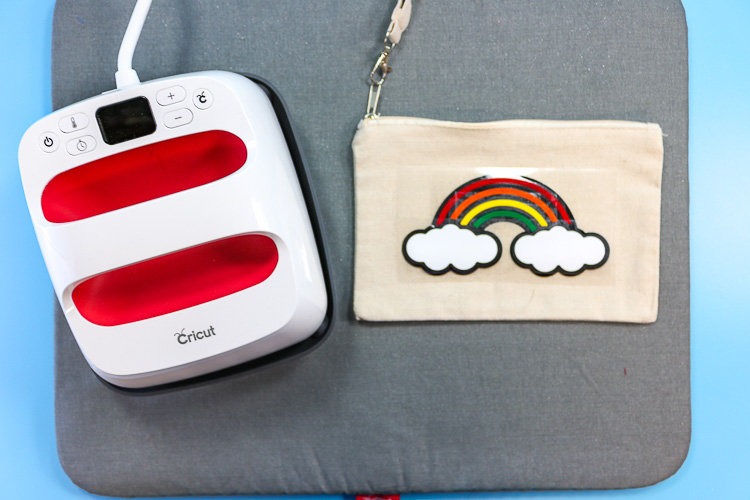
I cut the liner for each of the colors very close to the iron-on and was able to apply all my rainbow colors in the second tack. This will vary depending on the design you choose. Be careful to make sure the liner sheet is not under any of the iron-on designs when pressing multiple colors at once!

Then applied the last "layer" of the clouds! So here we have 6 colors but technically only one layer as each color is directly touching the canvas pouch!
")
Everyone needs a glitter rainbow in their life, yes?


What is the Protective Sheet For?
Cricut has a protective sheet that is can be used for a myriad of different purposes.
- Use when layering to protect previous pressed layers from the heat when the top layers are applied.
- Use when applying specialty vinyl on blanks that require longer press times or to protect your the surface of the iron on itself. I particularly like to use the sheet with foil iron on or when I have several layers or several materials and press several times <–that was A LOT of the word several!
- Use when I applying iron on to non-fabric surfaces such as wood and metal.
Here I simply pressed all of my layers of the rainbow pouch one last time before flipping over and applying heat from the reverse side. I protected all the layers from the direct heat plate of the EasyPress (since they had been pressed numerous times before) with the Protective sheet.

Tips for Using Different Types of Heat Transfer in One Project
Let's say you want to make fun htv designs with multiple types of iron-on. The file in Design Space is already sliced for you. How do you correctly apply the different types?
The answer is to look up the heat settings for each type of iron-on you are using (with the type of base you are using).
Apply the type that has the HOTTEST setting first. Then work cooler.
When going with this type of application I press the hottest layer for the recommended time in the settings chart. Above I lessened the time. Here I will use the full time and then I will use the protective sheet for each layer after that.
The reason is that if you do not get that first layer all the way adhered to, chances are it will not fully apply. Since the additional layers are of cooler temperatures, that fact paired with the protective sheet will help protect that layer while applying the other layers.
For my Thanksgiving Day Keepsake Runner, I Used both Everday Iron-on and Foil Iron-on. The layers did not overlap but I pressed the Everyday Iron-on first because it had a hotter temperature setting and then the Foil Iron-on after as it had a cooler temperature setting and I used the Protective sheet.
Can You layer SportFlex?
Yes! You can layer SportFlex with ONLY SportFlex and it is recommended to keep it at 3 layers or less. You can find everything you need to know about SportFlex and application tips and tricks here.
Can You layer Iron On Designs?
No. It is not recommended to layer Cricut Iron-on Designs, however, you can certainly personalize any Iron on Design with separate Iron-on, just not in a layered way. My friend Cori personalizes the donut design so cute here.
You can read all about Cricut Iron On Designs, see my favorites and how awesome they are to quickly make a fun project here.
Now you should be ready to Correctly Layer Iron-on Vinyl and press with your EasyPress 2.

PIN HOW TO CORRECTLY LAYER IRON ON (HTV) DESIGNS
Source: https://www.thatswhatchesaid.net/how-to-layer-heat-transfer-vinyl-iron-on/
0 Response to "How to Layer Iron on Vinyl With Easy Press"
إرسال تعليق